Showing posts with label myosotis. Show all posts

August 14, 2023

The Dress that Wasn't

 Okay - seriously, how do y'all come up with titles for your blog posts?  I'm so boring!  

Anyway, Way back during 2020 if my memory serves me, I bought a beautiful burgundy floral with every intention of making another myosotis maxi dress.  BUT then I remembered that as much as I love a good maxi, they really aren't practical for running up and down stairs and crawling around cleaning bathrooms.  So I decided to make a knee-length dress.  You know, the one on the pattern envelope! 


In all honesty, there is nothing wrong with this dress.  It has the modified to be more open neckline and I've moved the shoulders forward. I went completely collarless and added short sleeves.


I just don't like it.  It feels blah.  and heavy.  It most likely would have been epic as a sleeveless maxi - but that isn't what I made.


So, the next step is to use my vinyl cutter to put a size label at the back neckline and put it in the giveaway pile. I just don't see myself wearing this dress.  In fact, I even gave away the extra fabric already.


Photos by Carolyn taken at Carriage Corner Bed & Breakfast ;)


Sharing them all, because my friend makes me look good!

June 20, 2022

Backing Fabric Myosotis

 Sometimes I wish I had Roisin's knack for naming a dress, because mostly mine are called what they are:  they type of fabric combined with the pattern name and there you have it!  And this is no different.

  Earlier this year, I had Bird-in-Hand Fabrics quilt a quilt top that I had made years and years ago.  Why is this important?  Because I fell in love with the backing fabric that I picked out.

Blush Amelia by P&B Textiles


 I could see it as a long, button front myosotis dress!  Only this time, I wanted just a few things different. 

 I started with the bodice from the myosotis take 3 but added a collar and collar stand and ties from the front darts.  I will say, this was a little challenging to make, mostly because I was flying by the seat of my pants.  Since I had cut the neckline slightly deeper in the back and lower in the front, I ended up making the collar twice so that it actually fit.  And now, thinking about it 2 weeks after I made it, I cannot remember which collar fit.  Oh well, I kept all the correct pattern pieces (I hope).


 Also, at some point during construction, I freaked out and thought I was going to have to buy more fabric.  Not really sure why.  Oh, wait, because I thought I would use one width for the back of the skirt and one for the front.  Umm, the fabric is 108" wide - there was plenty!  

  I knew from measuring my blue floral dress that I needed 40" of finished length on the skirt.  I wanted this dress to have a deep hem, so I cut the fabric for the skirt portion at 44" and then I cut 1/4 of the width from each selvedge, so that there was one large piece 52" wide for the back of the skirt.  Selvedges to the center front and I added my favorite side seam pockets to the skirt front pieces.
   

 Once the skirt was constructed, I pressed up for the hem, but did that last.  Then I made the two ties.  They were cut from 'scraps of fabric' 3" wide and folded in half, turned, pressed and then topstitched.  I then carefully tucked the ties into the front waist darts before sewing them up.  


  I also sewed the collar and topstitched it before adding the collar stand.  And because I used all the facing pieces, I literally just sandwiched the collar between the bodice and the facing.  Is it the right way to do it?  Maybe no.  Did it work?  Absolutely!  Would I do it this way again? In a heartbeat! 

 When I gather the skirt onto the bodice, I try to the leave the center front flat.  So, for this pattern that means the gathers don't start until the front waist dart and then gather around to the other waist dart.  It seems to work for me. 

 And that added waist tie?  It's just tied loosely in the back.  Not really pulling anything in, just adding a little something extra!

  This extra wide backing fabric is so soft and so pretty - I can't wait to wear this dress all the time.  And buy some more fabric from this line.  I bought 2 1/2 yards and could have gotten away with 2.  I have only tiny scraps left over. 


April 18, 2022

MYOSOTIS - Take 3

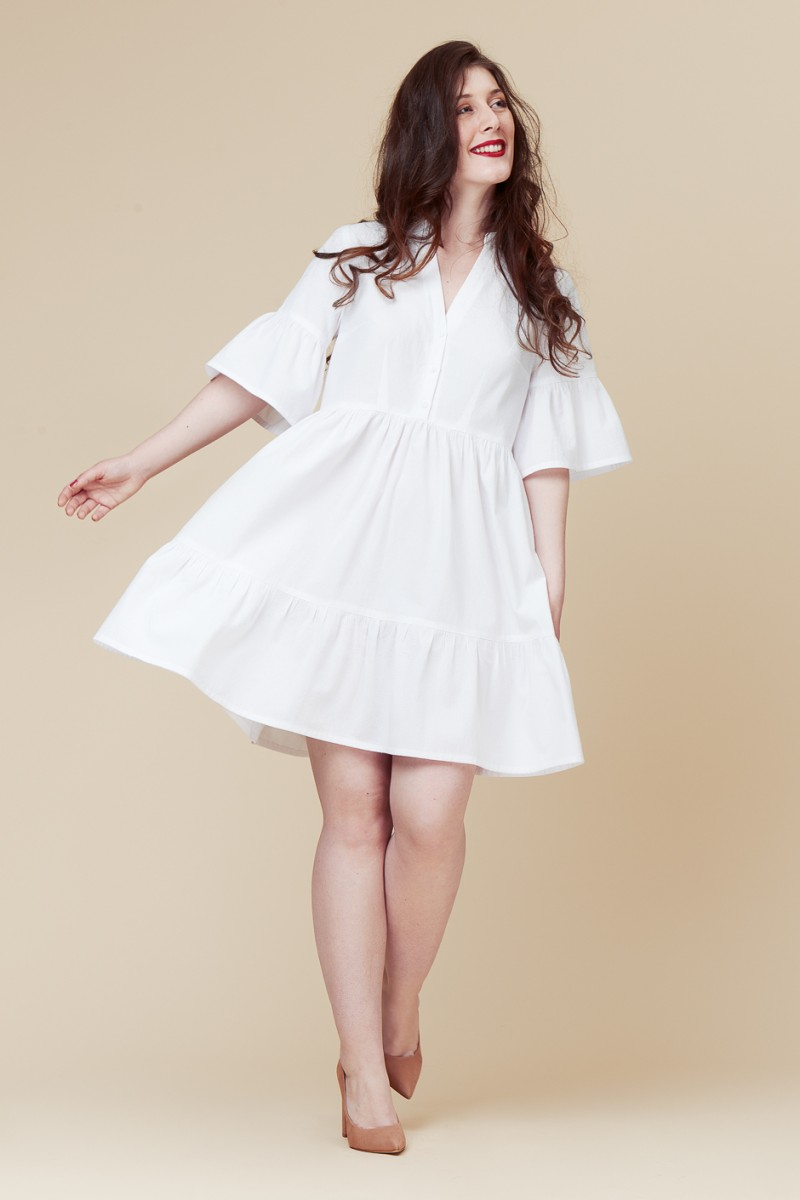
 Let's jump right in with the pattern picture, because ya know what?  Mine doesn't look like this.  In fact, only one version even comes close to looking like this.

This is the Myosotis Dress by Deer & Doe patterns.  I bought the pattern at FabricMart during a Carriage Corner Sew Camp in either late 2019 or 2020.

During a 2021 pre-vacation must sew a new wardrobe frenzy - I made my first version (promise, I will take photos and blog it soon).  Anyway, that version is fun, but it has issues.

Take a page from Carolyn's book and maxi-fied the dress.  I also used the SunnyGal tutorial to open the neckline up, bring the armholes in and skip the collar.

The fabric was bought at Hobby Lobby on sale and it was so pretty, I just couldn't pass it up.  You know me and a dark floral ::swoon::

Yesterday, I rearranged some of the furniture in our bedroom and pulled out my real camera.  It's nothing fancy and I could use some work on settings rather than leaving everything on auto, but this will do for now.  

All of the pattern changes are to the bodice.  Without looking, I can't even tell you what size I made - remember, I made this dress last August!  What I can tell you is that I moved the shoulders forward 1/2", I lowered the front waist 1/2" so the waist is level.  I used my french curve to bring the armholes in and then I used matching bias to finish them.  I opened the neckline up 1" and honestly, it could use a smidgen more room, and then I redrafted the neckline facings.

Sorry - for the blurry photo - again, figuring it out.  This is the best shot of the back & side that I got.  

For the skirt, I just used 2 width of fabric pieces.  I left the selvedges on the opening side and cut 3" wide interfacing the length of the skirt.  That was then folded in half to create a fully functioning button front.


But, rather than buttons, I used pink pearl snaps.  I am able to purchase these snaps in my favorite dry goods store in town for around $2 a dozen and they work with my snap source snap setter.  I have always liked the look of buttons grouped together, so I decided to put 2 snaps as close together as I could get them with the snap setter, about 1/2" apart.  I think if I had snap pliers, I could have placed them closer together, but it's fine the way it is.  The pairs of snaps are then positioned 2" between each pair.


Final verdict:  I love this dress!  It's swishy and fun and it has pockets!  In fact, I love this version so much, I'm tempted to take V.2 apart to remake the bodice.  If you follow me on Instagram you would have seen V.2 - it's the short border print version made in July 2021!

As I wear the garments I've made in the last couple of years, I will do my best to take some better photos with some different poses!
LinkWithin Related Stories Widget for Blogs