Let's jump right in with the pattern picture, because ya know what? Mine doesn't look like this. In fact, only one version even comes close to looking like this.
During a 2021 pre-vacation must sew a new wardrobe frenzy - I made my first version (promise, I will take photos and blog it soon). Anyway, that version is fun, but it has issues.
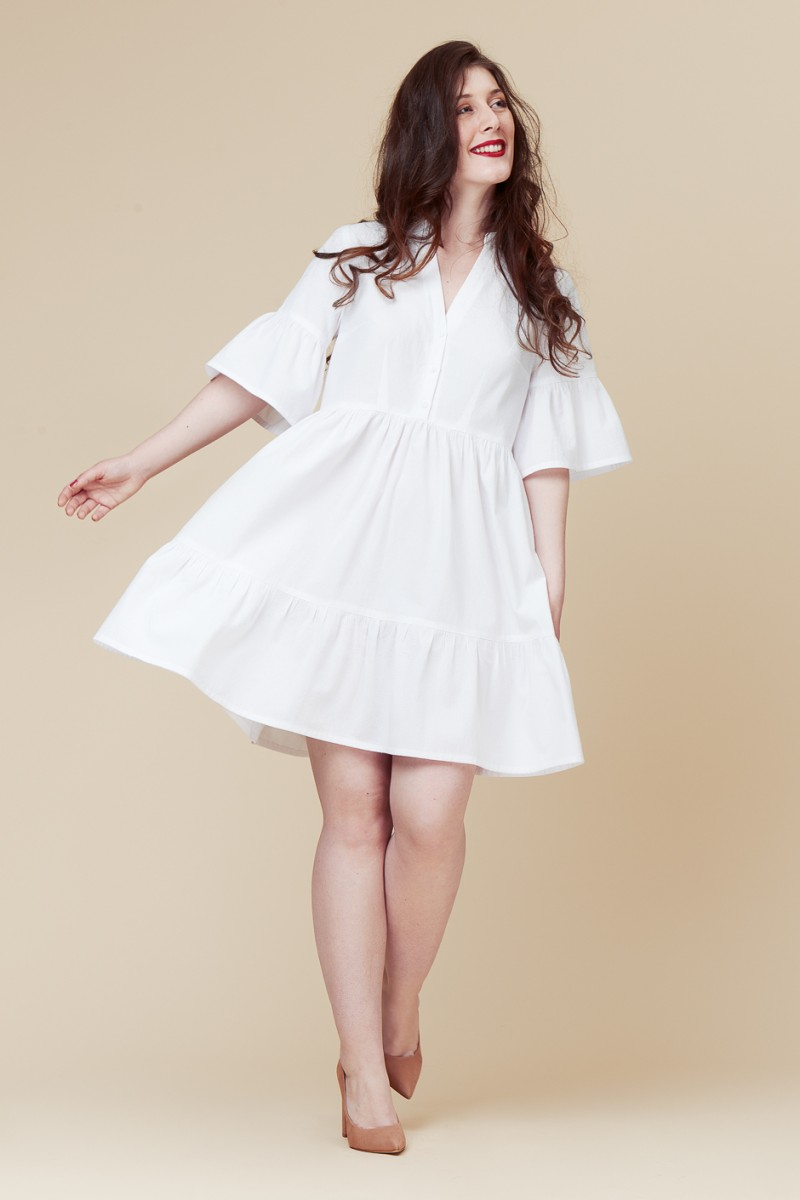
Take a page from Carolyn's book and maxi-fied the dress. I also used the SunnyGal tutorial to open the neckline up, bring the armholes in and skip the collar.
.JPG)
Yesterday, I rearranged some of the furniture in our bedroom and pulled out my real camera. It's nothing fancy and I could use some work on settings rather than leaving everything on auto, but this will do for now.
.JPG)
.JPG)
For the skirt, I just used 2 width of fabric pieces. I left the selvedges on the opening side and cut 3" wide interfacing the length of the skirt. That was then folded in half to create a fully functioning button front.

But, rather than buttons, I used pink pearl snaps. I am able to purchase these snaps in my favorite dry goods store in town for around $2 a dozen and they work with my snap source snap setter. I have always liked the look of buttons grouped together, so I decided to put 2 snaps as close together as I could get them with the snap setter, about 1/2" apart. I think if I had snap pliers, I could have placed them closer together, but it's fine the way it is. The pairs of snaps are then positioned 2" between each pair.
.JPG)
Final verdict: I love this dress! It's swishy and fun and it has pockets! In fact, I love this version so much, I'm tempted to take V.2 apart to remake the bodice. If you follow me on Instagram you would have seen V.2 - it's the short border print version made in July 2021!
As I wear the garments I've made in the last couple of years, I will do my best to take some better photos with some different poses!

Well I like the glamour shot at the end! :) Also, this dress is LOVELY on you! But then again you know how much I love this altered pattern.
ReplyDeleteIt's a beautiful dress; I really like your changes and the pearl snaps! By all means, take apart V.2 and make it exactly what you want. I'm trying to go through my closet and alter things I don't like, or donate them if alteration is not an option.
ReplyDeleteVery stylish, and I love the snaps!
ReplyDelete