Showing posts with label M4399. Show all posts

April 25, 2019

Cinco de Mayo

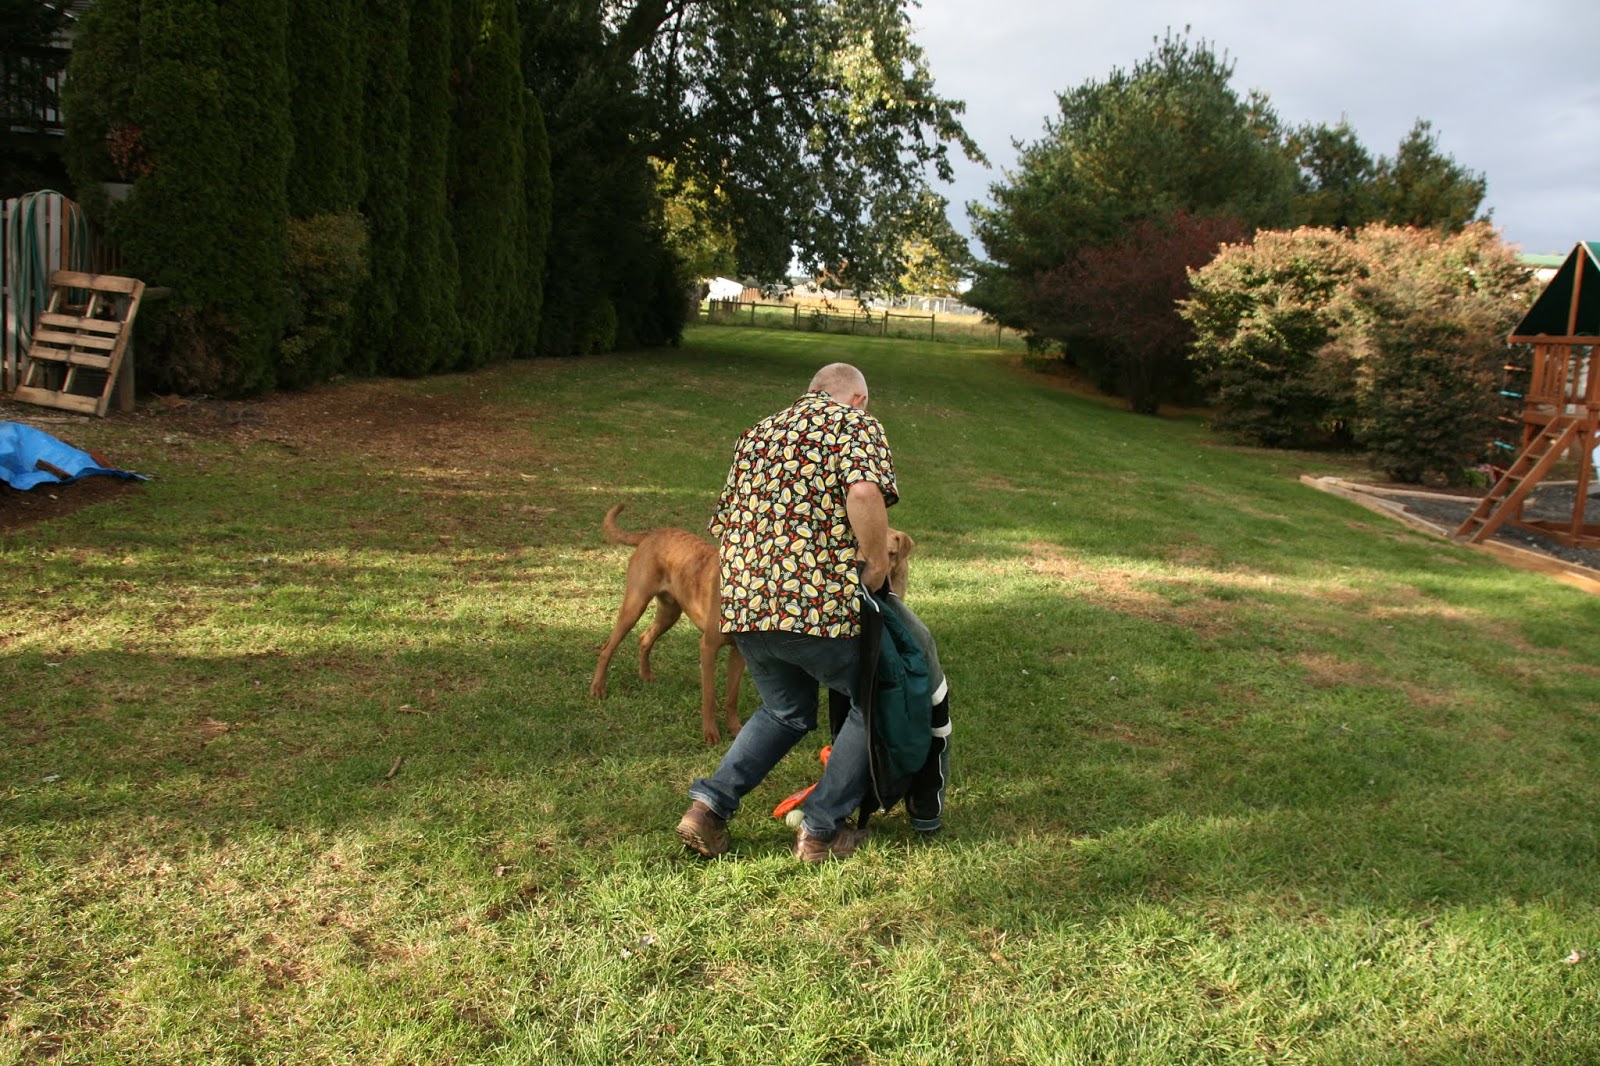
When you've created a monster by making your husband a wardrobe of bowling shirts.  I kid you not, the other day, he actually opened his closet and said "I don't have anything to wear!"


JB now has 32 bowling shirts in his closet.  All but 4 of them have been made with my hands.  And when I recently did the fabric closet re-org (look for a future post on that) I put a stack of fabrics for just JBs shirts.  There's enough for at least 4 more. 


Also, now if he goes to the fabric store with me.  The first thing he does is head to the novelty prints and ask if I can make a shirt out of X?


But - I will say - he does wear his shirts.  And he shows anyone who comments on them that they match across the buttonholes and asks if they can find his pocket!  So - it's worth it.  

November 15, 2018

Shirt Inspo

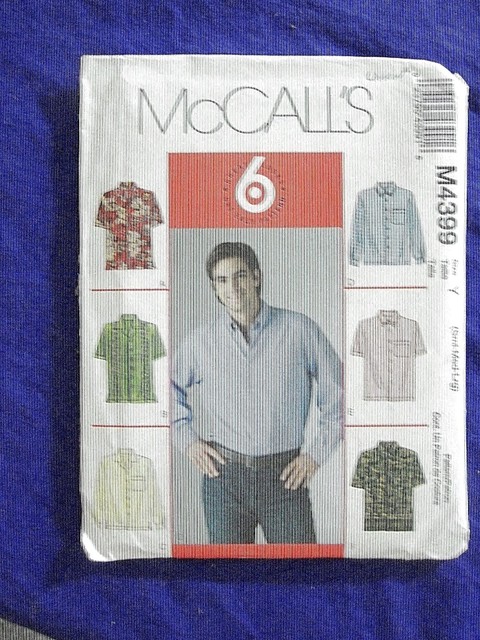
Many of you know that I make JB shirts.  I started making them years ago using the now out of print McCall's 4399.  A quick search shows a very similar current McCall's pattern.

I just want to say - I'm bored.  I'm bored with this pattern.  The only way to really jazz it up is with fabric - and using a contrast pocket and under collar.  A quick count in his closet shows that I have now sewn this pattern up twenty-one (21!!) times!  And all but 3 of those have been made in the last 15 months or so.  I've gotten pretty good at matching the pattern across the placket - I guess the next thing to do is match the pattern all the way around?  And the sleeves?  I would say 95% of the time you can't find the pocket, I've gotten pretty good at that matching.

But, what I really want to sew is shirts like these jazzy little numbers:


Look at those fun details!  Contrasting fabric on the cuffs, button bands, collar stands and under collars.  

But you might have noticed one thing.  Those are all tailored button down shirts.  JB is NOT a buttoned down guy and while I could make shirts like for him - it would be a waste of my time and fabric.  I'm better off leaving those fun details for me.  So - what do I do?  I find a new shirt pattern that has a few places to play.  

For the flag shirt, I started with New Look D0966 (6197)


This was a great jumping off point for adding a little of interest to my sewing projects.  The New Look pattern has a back faced yoke and separate front facing piece, but it's still only a one piece collar.  I am still on the lookout for a men's pattern with a collar stand.  

Also, while cutting this one out, I decided to make E a matching tunic.  More on both shirts coming in a future post - I need more photos and want to get this one posted.  

But - while we wait talk to me.  Do you sew for anyone else?  Do you do it because you like it or because they do?  Do you ever get bored with the garments you are making?  How do you keep it interesting and exciting?


April 26, 2018

Just Another Bowling Shirt

I really have to come up with some way to spice up these shirts for JB.  Honestly - I'm getting bored with sewing them and I'm sure you're tired of reading about them.  Honestly, there is nothing new to say.  I'm still using McCalls 4399 and just changing up the fabrics, buttons and how I sew the hems and button bands - as in accents with the thread. 


This fabric was a quilting cotton that I purchased at the craft store probably 5 years ago.  I liked the print.  I bought 4 yards - which is honestly about 1/2 yard too much, but I like knowing I can match the print across the button bands.  Once I got fussy about matching the pattern across the button bands, I started cutting the shirt out from a single layer of fabric.  I have a full back pattern piece and only 1 front pattern, 1 sleeve and 1 collar.  Oh and the pocket pattern which I trace off several.  I did a blog post back in October about how I match the pattern - you can read it here.  So far, I haven't been too worried about matching the print up across the side seams, but I imagine that's coming next.  


In this photo - JB is showing you the barn door he installed over the panty opening in the B&B.  He did a great job.  That door gets so many comments.  


Nobody know what's he's doing here.  But he was ready for me to snap the photo so he could breathe!  Doesn't this fabric scream tropical vacation?  


In this photo, you can see I nailed the print matching!  Also - can you spot the pocket?  This shirt has one.  In fact, all of his recent shirts have a pocket - he needs someplace to keep his glasses!  The buttons were in a baggie of shirt buttons I either added from a FabricMart purchase or from Fashion Sewing Supply - I can't remember which.  They were perfect for this shirt.  I always add 7 buttons, so they are spaced a little closer than the pattern indicates.  I use my simflex for positioning the buttons evenly up the placket and start the first one at the bottom, the same distance as the side slits.  
 

December 26, 2017

Fall Back

The Halloween shirt (seen on Instagram) was the first of the 10 bowling style shirts that I made JB.  Since I haven't been sewing a bunch for myself lately - I cannot promise you that I won't drag all 10 shirts out into posts of their own.  

Along the lines of  "If It Ain't Broke, Don't Fix It" I'm still using McCalls 4399 - it is long since out of print, but M6972 would work or M7206 if you wanted to do some print mixing - in fact, I might need to add this pattern to my stash during the next sale.  


We had friends vising from Seattle and I asked them to take his shirt photos.  There were 2 reasons behind this - 1.  JB thinks one photo from each angle is enough - figure out how to make it work and 2 - he always changes into his outside working clothes while I'm still working.  


Back view - you can see there is plenty of room here to go around his slim hips.  I feel like the sleeves are a wee bit too long - but he says their fine.  I might put a deeper hem in the next batch I sew up.  

Apparently - Anna was making him laugh.  While JB's first comment when he saw this shirt was - it's bright, it's got quite a bit of kitchen time this Fall.  Guests always comment on how seasonally appropriate his shirt is and then there's Snoopy.  I mean, who doesn't love Snoopy?  


Just look at that pattern matching - across the pocket and the button placket - WIN!!

October 24, 2017

Print Matching

While my wardrobe has become decidedly more casual - JB's has become a bit more dressy - if you will.  See - he helps in the kitchen in the morning, preparing the first course, helping plate & serve the main course and doing the dishes.  So, he's started wearing his bowling shirts with jeans.  Now he had quite a few that we've purchased over the years in Hawaii, Key West and at Disney and I've made him a few.  But he wanted more.  

The more I've made, the more I've wanted to get better at pattern matching over the button placket.  I still haven't figure out how to match the pattern at the side seams as well - but I figure the side seams aren't as noticeable as the button placket.  

So, I have no idea if this is right - but it's what I do and it works for me.  I thought maybe it would help some one else.  So - here goes nothing.  
UNCUT MCCALLS #4399 MENS SHIRT SEWING PATTERN SZ  CHEST S-M-L 34-36-38-40-42-44

I use McCalls 4399 mens shirt pattern which is long out of print.  My envelope has a date of 2004 on it.  Also I use view A, short sleeves with the side seams left open for a bit at the bottom.  

I trace 90% of my patterns onto exam table paper and keep the original pattern intact.  No real reason, it's just what I do. And in this case, I'm glad I've done that - I've made other changes to the pattern to add contrast fabrics.  

Anyway - once the fabric has been washed and ironed - I cut the shirt out single layer.  Cutting the left front shirt piece first.  I have to remind myself often that girls are always right and boys are left out.  So, the left front has the buttonholes and goes on top of the right front.  Once the front has been cut out - I then go over to the ironing board and fold the facing back on the center front line.  I know that this is not where the facing will ultimately be folded, but I figure if I can match the pattern at the center front - then it should match coming out of the placket - so far this has worked for me in actual practice.  
folded back on center front
Then, I take the left front back to the yardage and line the print up as close to an exact match as I can get.  Smoothing the left front over the yardage and making sure everything stays matched.   
Lining up the pattern at the center front
Next, I grab my pattern piece with the facing folded back and butt it right up against the left front - making sure I have my pattern piece the right way up.  I carefully lift up the folded facing and start pinning the tissue to the fabric, being careful not to shift anything.  Once the exposed part of the pattern is pinned in place, I remove the left front, fold the facing flat, finish pining and then cut the right front out.  

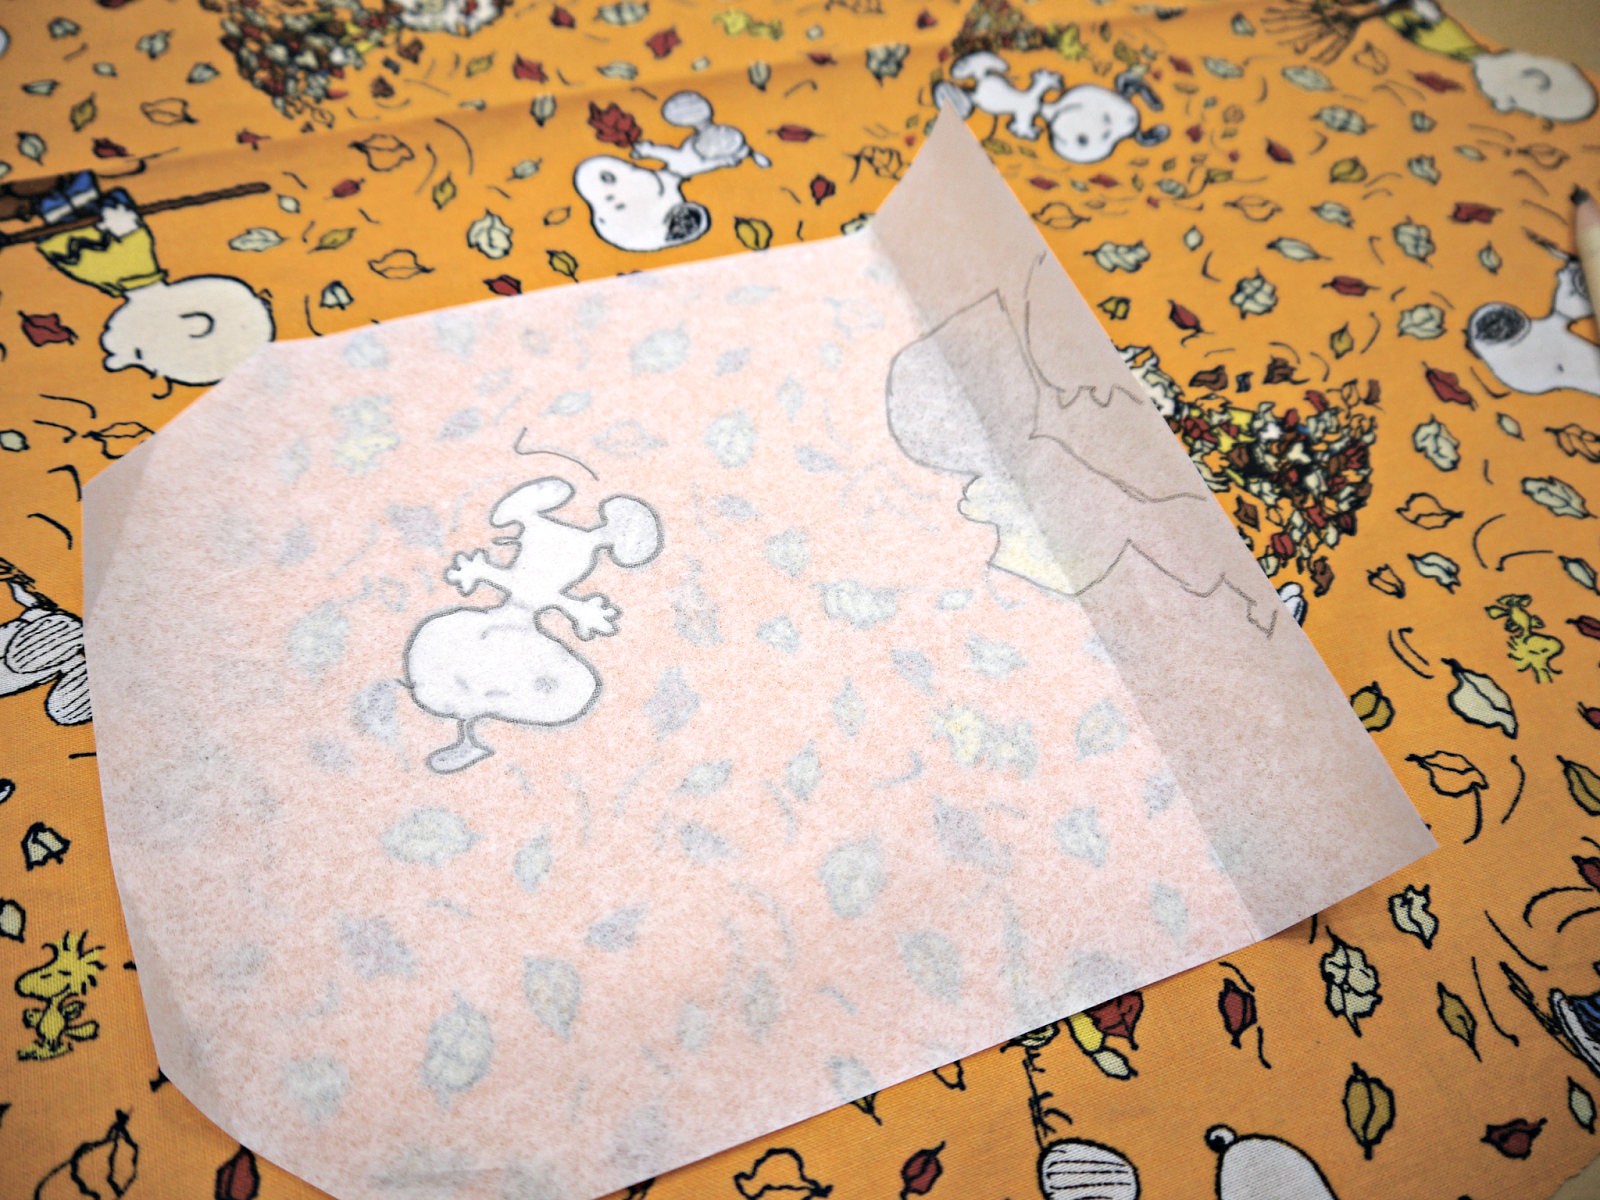
Tissue being placed next to left front - red line added to show pattern piece on top of yardage
For the pocket - before removing the tissue from the left front, I slip the pocket piece under the left front piece, matching the top of the pocket with the markings on the pattern piece.  Actually - I've found for JB, that the pocket is almost under his armpit when I put it where the pattern has it, so I move it a bit toward the center front.  

Once I have everything lined up the way I want it, I remove the shirt tissue and trace some large identifying designs onto the pocket pattern.  As I was cutting a bunch of shirts - I cut a bunch of pocket blanks.  I then match my really horrible drawings to the fabric, pin & cut.  


Once you've done all this, stack all the pieces together neatly.   Fold and put in a stack on the corner of your sewing table until you feel like assembling a bunch of shirts.  

I hope this helps someone else who's struggling with pattern matching.  As I said, it might not be proper way - but it works for me.  

LinkWithin Related Stories Widget for Blogs