Showing posts with label shirt making. Show all posts

September 5, 2019

Put a Cherry On Top!

After the last shirt - I wanted to try another.  I have a stack of shirt patterns - so plenty of options to choose from.  This time I chose Simplicity 8090

One of the things I've been trying to do this year, is not add too much to the fabric closet.  AND when I pull a piece, use up as much of it as possible.  I had pulled a cherry print to make an apron for a guest, I used all of the red contrast that I had bought for a dress inspired by a tv show but that really don't fit my lifestyle now.  BUT because I had bought a dress length, I had enough of the cherry print to make this boxy little cropped top.  I did have to buy the accent fabric. 

I really, really need to start taking better notes - especially when I wait so long to get pictures and blog something.  My IG account says that I made this top back in February!  February folks. 

So - what changes did I make?  I'm almost positive I traced a 14 shoulders, to a 16 at the bottom of the armhole and then no other changes.  I made View B with the contrast ruffle at the top.  I did draft a collar stand from the one piece collar.  This is how the pieces were cut; Cherries: front, back, sleeve and upper collar; Contrast Gingham:  front facing, collar stand, under collar, back tab and a binding on the sleeves.
I have a big bag of vintage buttons, including several sets of Bakelite buttons. I put cheery red Bakelite buttons on this top.  


This top is easy to wear and distinctive from everything else in my closet.  I'd like to make another version, just slightly longer.  Because of that interesting french dart, I'm not sure where to add length - part of me wants to add it completely above the dart in an attempt to lower the dart.  And part of me says just slice through it and add length - what are your thoughts?

 I like the length of the back, but again, wouldn't be sad if I added length.


Isn't that little tab in the back too cute?  It's on the back of all views.  On me - it feels just slightly too high, I want it sitting at the small of my back - where you'd actually pull things together and button them up.  Easy enough to fix.


When you make a garment this distinctive, do you make multiples?  I would like to try it again and see if I can add a little length and lower that dart a bit.  We'll see what really happens - my 'to sew' list is long.

August 22, 2019

Pink Striped Shirt

My blog titles have got so creative, haven't they?  This is an old, old shirt.  I bought the fabric from Style Maker Fabrics and honestly, it got washed, ironed, cut and sewn up fairly quickly.  I think it was early 2018 when I ordered the fabric.  See, at the time I was working on a fair isle yoked sweater that really, really needed a button up to wear under it. 

You might be asking yourself why?  Because 1.) I love the look of a shirt coming out from under a pullover - the shirttail hems, the cuffs and the collar - it's just classic and b) the sweater was being knit from lopi - which is itchy as all get out.

For whatever reasons, I didn't finish the sweater.  It was a test knit and there were sizing issues FOR ME. 

I used New Look 6470 for the shirt and very carefully measured myself and then the pattern flat.  I added some space where needed.  I worked on the shirt during Spring Sew Camp 2018.  I knew as I was working on it that it wasn't going to fit me.  But I plodded on.  I'm glad I finished it. 

For the back yoke, I cut the piece in half and added a seam allowance and then cut the stripes on the bias.  The yoke facing was cut on the normal gain for stability. I burrito'd putting the yokes together so the shoulder seams are enclosed. I made the back pleat a bit wider to give some more room at the hips.

What you can't see, because I didn't unroll the sleeves is that the shirt has long sleeves with a tower placket and proper cuffs.  


While I can't currently button up this shirt and still move, it will get worn over a tank or cami.  It's a great layering piece.  


This is a good shirt pattern.  It currently fits through the shoulders, so I need to figure out what to do to add more width around the bust and hips - FBA?  Maybe.  While I don't have a large bust, I do have a large rib cage and a FBA might give me enough room to be able to button this button up shirt.  Hmmm, let me add this project to the ever growing list of things to make. :)

How would you fix this pattern so the shirt can button and movement would be possible?  

October 24, 2017

Print Matching

While my wardrobe has become decidedly more casual - JB's has become a bit more dressy - if you will.  See - he helps in the kitchen in the morning, preparing the first course, helping plate & serve the main course and doing the dishes.  So, he's started wearing his bowling shirts with jeans.  Now he had quite a few that we've purchased over the years in Hawaii, Key West and at Disney and I've made him a few.  But he wanted more.  

The more I've made, the more I've wanted to get better at pattern matching over the button placket.  I still haven't figure out how to match the pattern at the side seams as well - but I figure the side seams aren't as noticeable as the button placket.  

So, I have no idea if this is right - but it's what I do and it works for me.  I thought maybe it would help some one else.  So - here goes nothing.  
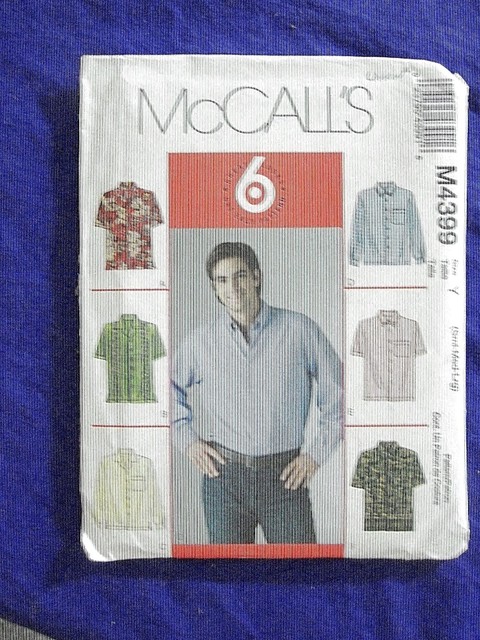
UNCUT MCCALLS #4399 MENS SHIRT SEWING PATTERN SZ  CHEST S-M-L 34-36-38-40-42-44

I use McCalls 4399 mens shirt pattern which is long out of print.  My envelope has a date of 2004 on it.  Also I use view A, short sleeves with the side seams left open for a bit at the bottom.  

I trace 90% of my patterns onto exam table paper and keep the original pattern intact.  No real reason, it's just what I do. And in this case, I'm glad I've done that - I've made other changes to the pattern to add contrast fabrics.  

Anyway - once the fabric has been washed and ironed - I cut the shirt out single layer.  Cutting the left front shirt piece first.  I have to remind myself often that girls are always right and boys are left out.  So, the left front has the buttonholes and goes on top of the right front.  Once the front has been cut out - I then go over to the ironing board and fold the facing back on the center front line.  I know that this is not where the facing will ultimately be folded, but I figure if I can match the pattern at the center front - then it should match coming out of the placket - so far this has worked for me in actual practice.  
folded back on center front
Then, I take the left front back to the yardage and line the print up as close to an exact match as I can get.  Smoothing the left front over the yardage and making sure everything stays matched.   
Lining up the pattern at the center front
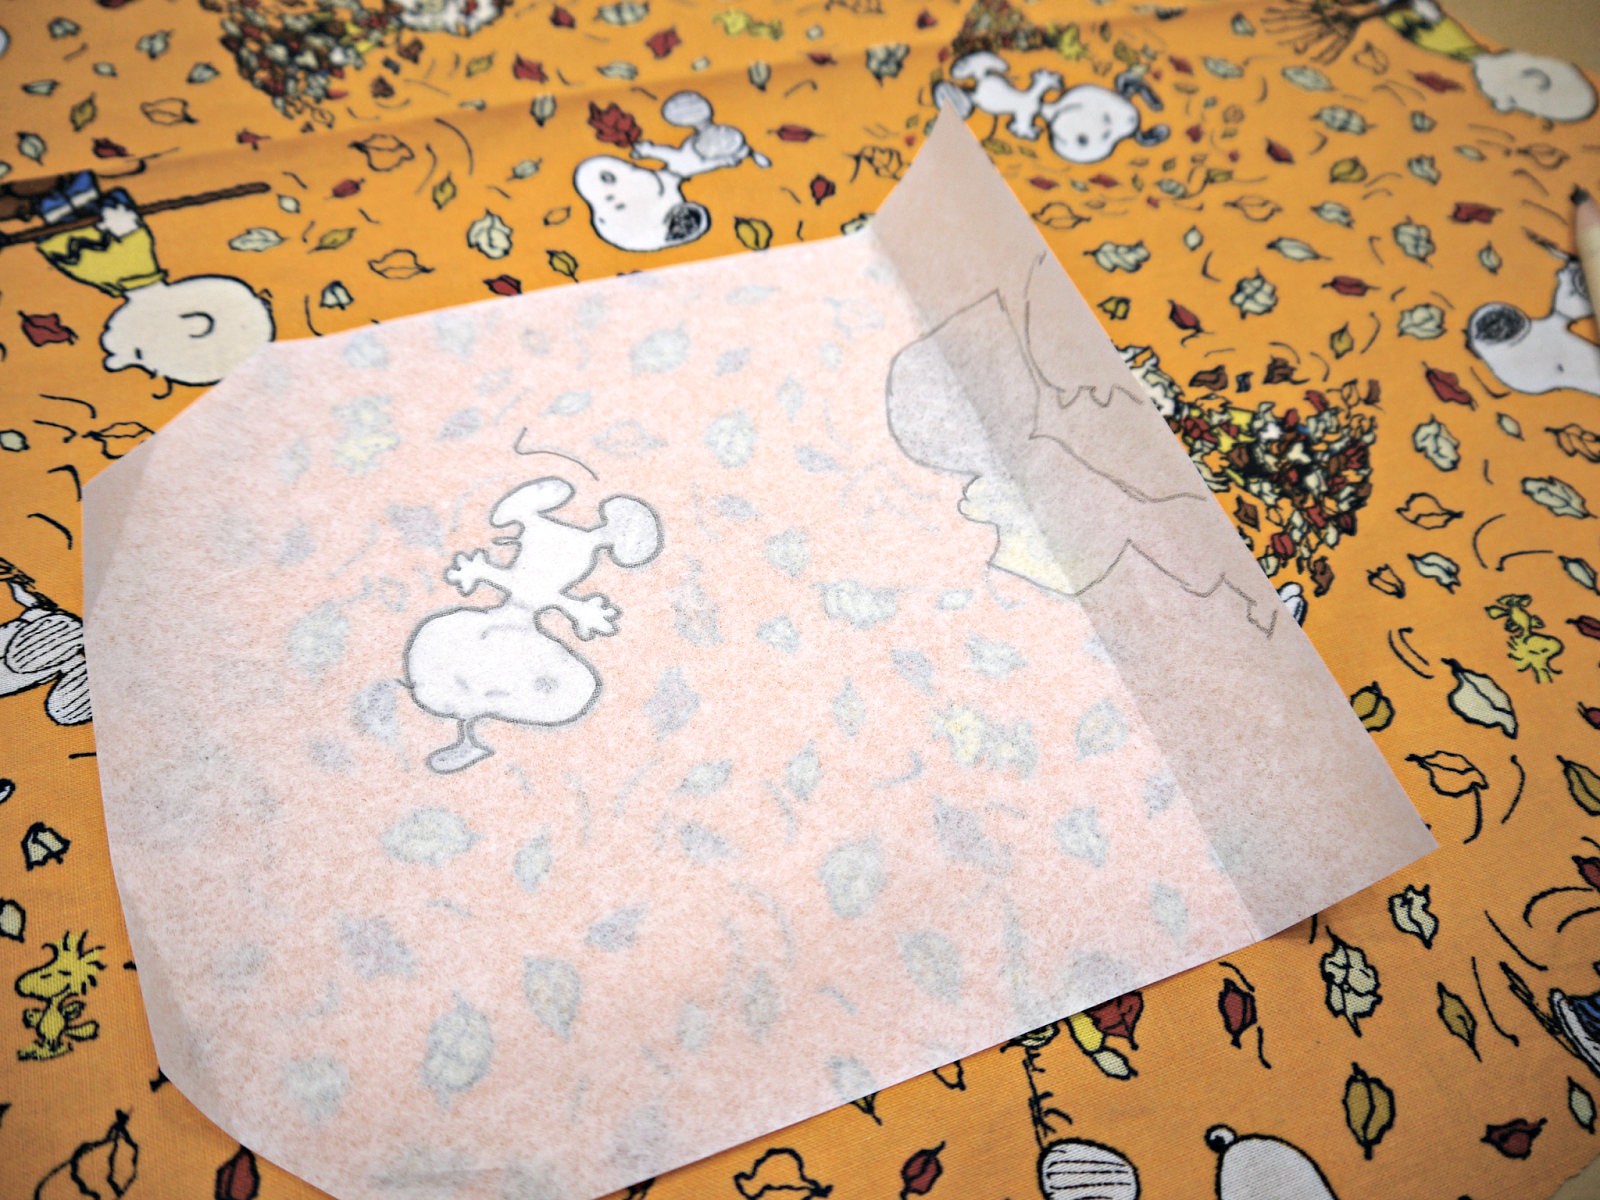
Next, I grab my pattern piece with the facing folded back and butt it right up against the left front - making sure I have my pattern piece the right way up.  I carefully lift up the folded facing and start pinning the tissue to the fabric, being careful not to shift anything.  Once the exposed part of the pattern is pinned in place, I remove the left front, fold the facing flat, finish pining and then cut the right front out.  

Tissue being placed next to left front - red line added to show pattern piece on top of yardage
For the pocket - before removing the tissue from the left front, I slip the pocket piece under the left front piece, matching the top of the pocket with the markings on the pattern piece.  Actually - I've found for JB, that the pocket is almost under his armpit when I put it where the pattern has it, so I move it a bit toward the center front.  

Once I have everything lined up the way I want it, I remove the shirt tissue and trace some large identifying designs onto the pocket pattern.  As I was cutting a bunch of shirts - I cut a bunch of pocket blanks.  I then match my really horrible drawings to the fabric, pin & cut.  


Once you've done all this, stack all the pieces together neatly.   Fold and put in a stack on the corner of your sewing table until you feel like assembling a bunch of shirts.  

I hope this helps someone else who's struggling with pattern matching.  As I said, it might not be proper way - but it works for me.  

LinkWithin Related Stories Widget for Blogs