May 9, 2022

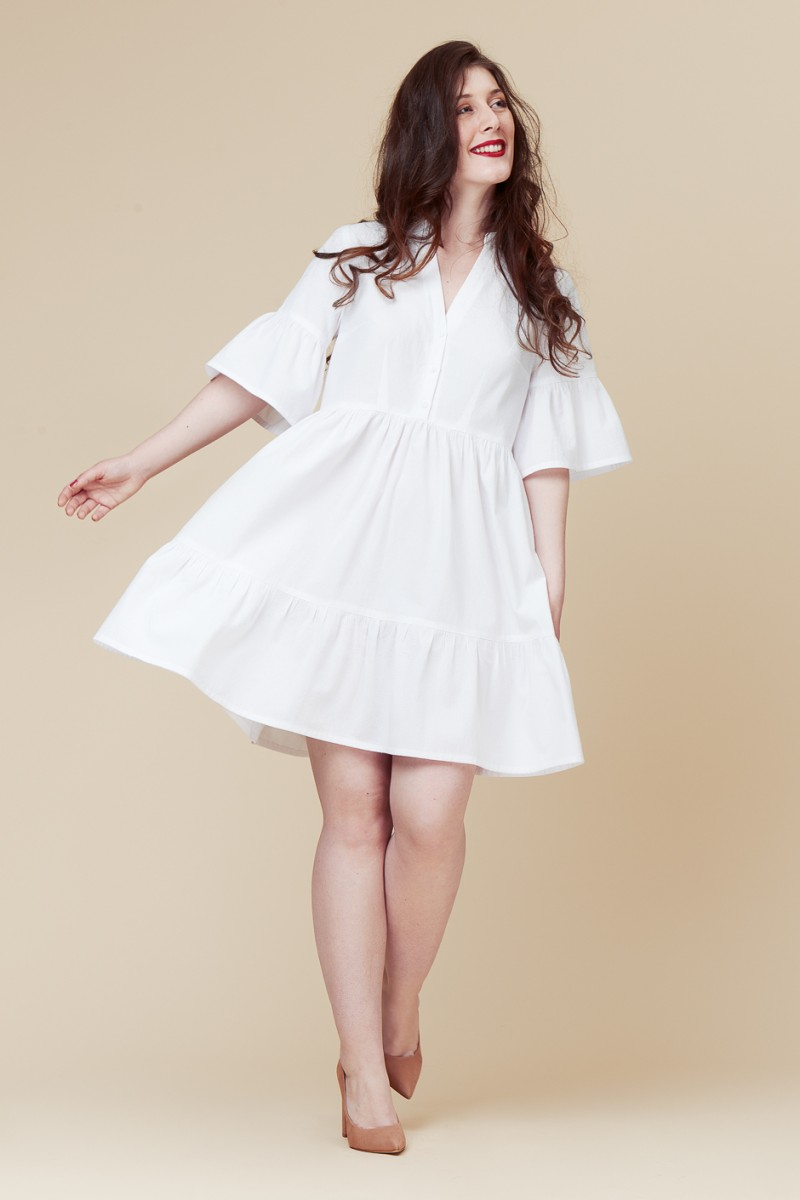
Style Arc Hope Woven Dress

 Just like most of my stories, this one begins with something that Carolyn introduced me to.  This time, it was a new account on Instagram that I wasn't following.  I'm willing to be that you already follow Birdy-Sew-Obsessed, but I didn't before Carolyn and I were chatting about something she made.

I followed as Birdy made a Style Arc Hope Woven Dress in her stories and loved it!  It absolutely didn't hurt that she made hers from black and white gingham and I'm still in need of replacing my absolute favorite dress.


This all must have happened around October last year, because I was on a mission to replace my black and white gingham ESP by Decades of Style.  Also, if you've made this dress and like me, think the neckline is too high, see the 2015 post linked about for how to lower the neckline and adjust the sleeves.

Because I've fussed with the bodice of my ESP pattern since making the Picnic Dress, I know that the bodice needs some fine tuning before I'm really happy with it again.  And for the record - I still wear that dress I made in 2015 because I have yet to make another fabulous dress.  Anyway . . . 

I received a gift certificate for my birthday and used it to buy the Hope Woven Dress pattern.  Then I carefully took my measurements and using the finished garment measurement decided which size to make.  I then pulled a really fun floral linen bought at FabricMart during a #CarriageCornerSewCamp


The dress is a quick sew - even adding pockets.  I use this method of putting pockets in skirts and pants.  It's really easy. Also, using Teri's method for putting in the pockets, still lets you add pockets, even when you don't have enough fabric.  In fact, I often use complimentary fabric for the first piece sewn on.  The only step I do that Teri doesn't show in the story highlight I linked to (Sorry if you aren't on instagram, I couldn't find any video's for putting pockets in this way.) is that I like to also sew my pockets to the front of whatever I'm making.  The benefit of this is that when you put your phone in your pocket, the weight doesn't pull the pocket down pulling everything out of alignment.   Also, don't make your pocket opening too large, just large enough for your hand.


If I remember correctly, the changes I made were to cut the back on the fold eliminating the button loop closure and I lowered the neckline a little bit. For future versions, I would like to try lengthening the sleeves about an inch.


Also, because this dress has a full gathered skirt - I didn't use the skirt pieces.  I just gathered 2 full width lengths of my fabric.  Clear as mud, right?

I don't think the photos show how truly oversized this dress is on me.  Even using the closed finish garment measurements vs my pattern size.  But I love this dress - the print makes it fun, the full skirt and full gathered sleeves give it drama and it has pockets! 

In my search for the perfect gingham to remake my favorite dress, I bought a purple uneven plaid.  I retraced the bodice 2 sizes smaller to get a closer fit.  Well, that ended up with very unattractive folds going from the bust to the bottom of the raglan seam.  I finished that dress as a maxi and gave it to my daughter - who says it's too large (also maybe a little bit sister-wife-ish).  But I will keep trying to get a fit closer to what Lisa from Mabel the Mannequin has achieved.

So, I'm curious - what do you think about this sorta shapeless dress trend?  I like it, but I think it can be hard to pull off well.  Of course, it absolutely won't stop me from trying ;)

April 25, 2022

Carolyn Top

Many of my garments are because Carolyn made something and I liked it!  This one is no different.  Back in November 2016, she made Vogue 8935, adding a special Carolyn twist!  The very first time Carolyn came to visit us at the B&B, she brought that top and I tried it on and loved it - aren't sewing friends the best?

Carolyn in the version that inspired me

So, I traced her pattern and pulled fabric that very weekend after Christmas when she was here.  I even got the top and the 'undershirt' accents cut out.  Then it sat and got moved from spot to spot to be out of the way.  Until the March 2018 sew camp! Then I decided to sew it up.  The trickiest part of this entire top is the neckline and figuring out how to get the accent fabric in the right spot.

The only photo of my version

My top was made in denim with a bright floral for the undershirt accent.  While it was a fun make and I love the individual elements - can I just tell you, I don't love the shirt itself.  I cut the 'shirt hems' a bit longer than Carolyn did hers, because I'm all about odd numbers and I wanted enough space for 3 buttons to show at the bottom - like who's even going to notice that besides me?!  But the denim is too stiff and the top as a whole is a weird length.

I even made bias to bind the neckline seam

I have another beautiful combo of fabrics to make this again - a floral ponte and a beautiful striped shirting - so tell me, would you make it again?  And if not - what do I do with the fabric that was bought specifically with this top in mind? 

April 18, 2022

MYOSOTIS - Take 3

 Let's jump right in with the pattern picture, because ya know what?  Mine doesn't look like this.  In fact, only one version even comes close to looking like this.

This is the Myosotis Dress by Deer & Doe patterns.  I bought the pattern at FabricMart during a Carriage Corner Sew Camp in either late 2019 or 2020.

During a 2021 pre-vacation must sew a new wardrobe frenzy - I made my first version (promise, I will take photos and blog it soon).  Anyway, that version is fun, but it has issues.

Take a page from Carolyn's book and maxi-fied the dress.  I also used the SunnyGal tutorial to open the neckline up, bring the armholes in and skip the collar.

The fabric was bought at Hobby Lobby on sale and it was so pretty, I just couldn't pass it up.  You know me and a dark floral ::swoon::

Yesterday, I rearranged some of the furniture in our bedroom and pulled out my real camera.  It's nothing fancy and I could use some work on settings rather than leaving everything on auto, but this will do for now.  

All of the pattern changes are to the bodice.  Without looking, I can't even tell you what size I made - remember, I made this dress last August!  What I can tell you is that I moved the shoulders forward 1/2", I lowered the front waist 1/2" so the waist is level.  I used my french curve to bring the armholes in and then I used matching bias to finish them.  I opened the neckline up 1" and honestly, it could use a smidgen more room, and then I redrafted the neckline facings.

Sorry - for the blurry photo - again, figuring it out.  This is the best shot of the back & side that I got.  

For the skirt, I just used 2 width of fabric pieces.  I left the selvedges on the opening side and cut 3" wide interfacing the length of the skirt.  That was then folded in half to create a fully functioning button front.


But, rather than buttons, I used pink pearl snaps.  I am able to purchase these snaps in my favorite dry goods store in town for around $2 a dozen and they work with my snap source snap setter.  I have always liked the look of buttons grouped together, so I decided to put 2 snaps as close together as I could get them with the snap setter, about 1/2" apart.  I think if I had snap pliers, I could have placed them closer together, but it's fine the way it is.  The pairs of snaps are then positioned 2" between each pair.


Final verdict:  I love this dress!  It's swishy and fun and it has pockets!  In fact, I love this version so much, I'm tempted to take V.2 apart to remake the bodice.  If you follow me on Instagram you would have seen V.2 - it's the short border print version made in July 2021!

As I wear the garments I've made in the last couple of years, I will do my best to take some better photos with some different poses!
LinkWithin Related Stories Widget for Blogs